SMS for Microsoft Power Automate – Setup and User Guide
This integration makes adding SMS to your workflow in Power Automate incredibly simple. Let’s do it.
NOTE: To maximise your feature experience, we recommend purchasing a Virtual Number when using our Microsoft integrations.
Connect your Edgility to Power Automate/ Workflows
The first time you use the Edgility app, you will be asked to Create a new connection and enter your Access Token and Token ID.
To start, click to add a trigger or action and search for Edgility in connectors
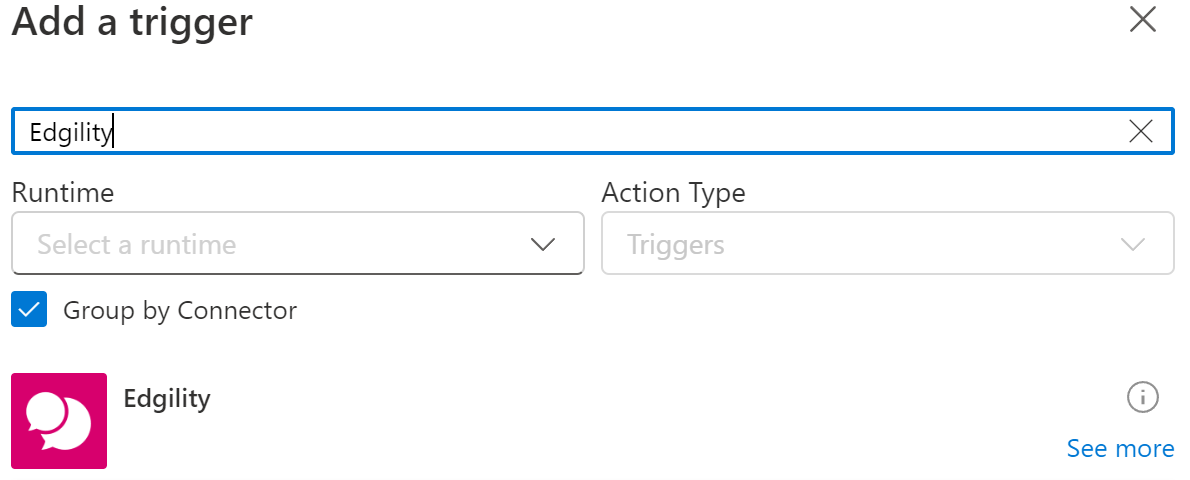
Select the connector to reveal the setup.
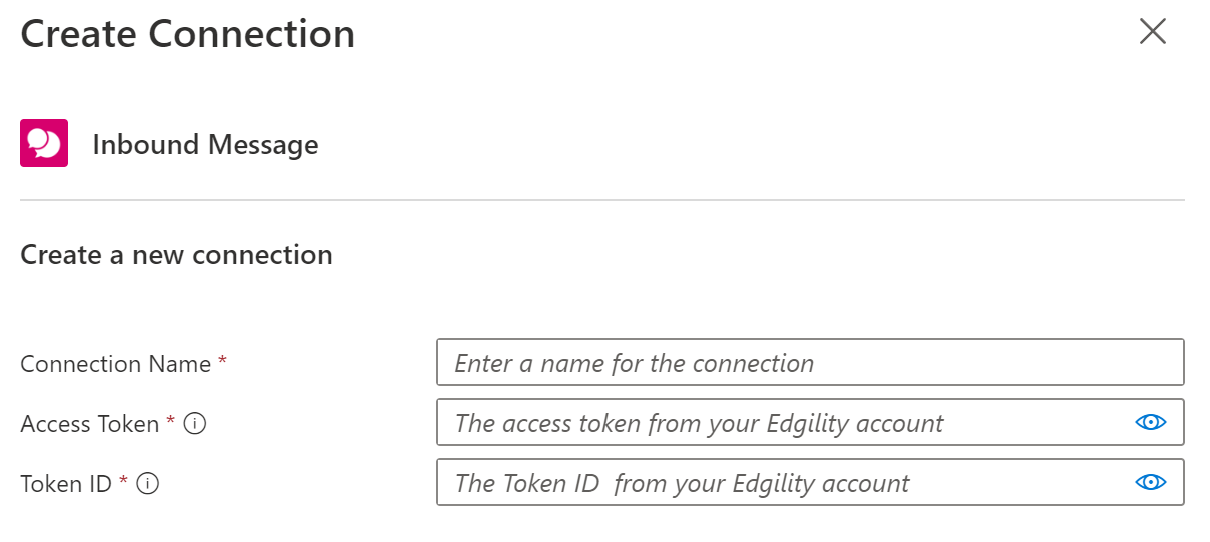
To find your Access Token and Token ID, login to Edgility and navigate to SETTINGS > API SETTINGS
Create a workflow that is triggered by an inbound SMS
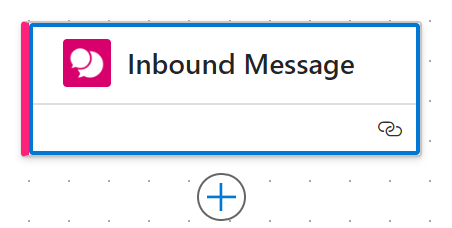
The Edgility Inbound SMS trigger will allow you to initiate a workflow when an SMS is received to your Virtual Number.
Start your workflow by searching for and adding the Edgility trigger.

Use the dropdown to select the Virtual Number that will trigger the workflow.
NOTE: Inbound SMS trigger can only be used with Virtual Numbers.

The initial workflow trigger will then be set.
You can then use conditional workflow actions or other apps to achieve specific tasks based on the message content, the time at which the message is received or who has sent the message.
4. Add SMS sending to your workflow
The SMS sending action will submit a message based on your workflow triggers.
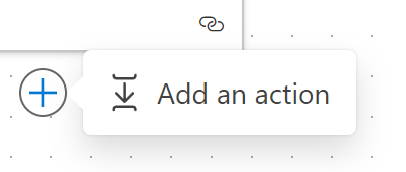
Simply click Add an action to add Edgility to your workflow
Search for then select Edgility in the connector list.

Click the Send SMS Message action to start configuring your message.
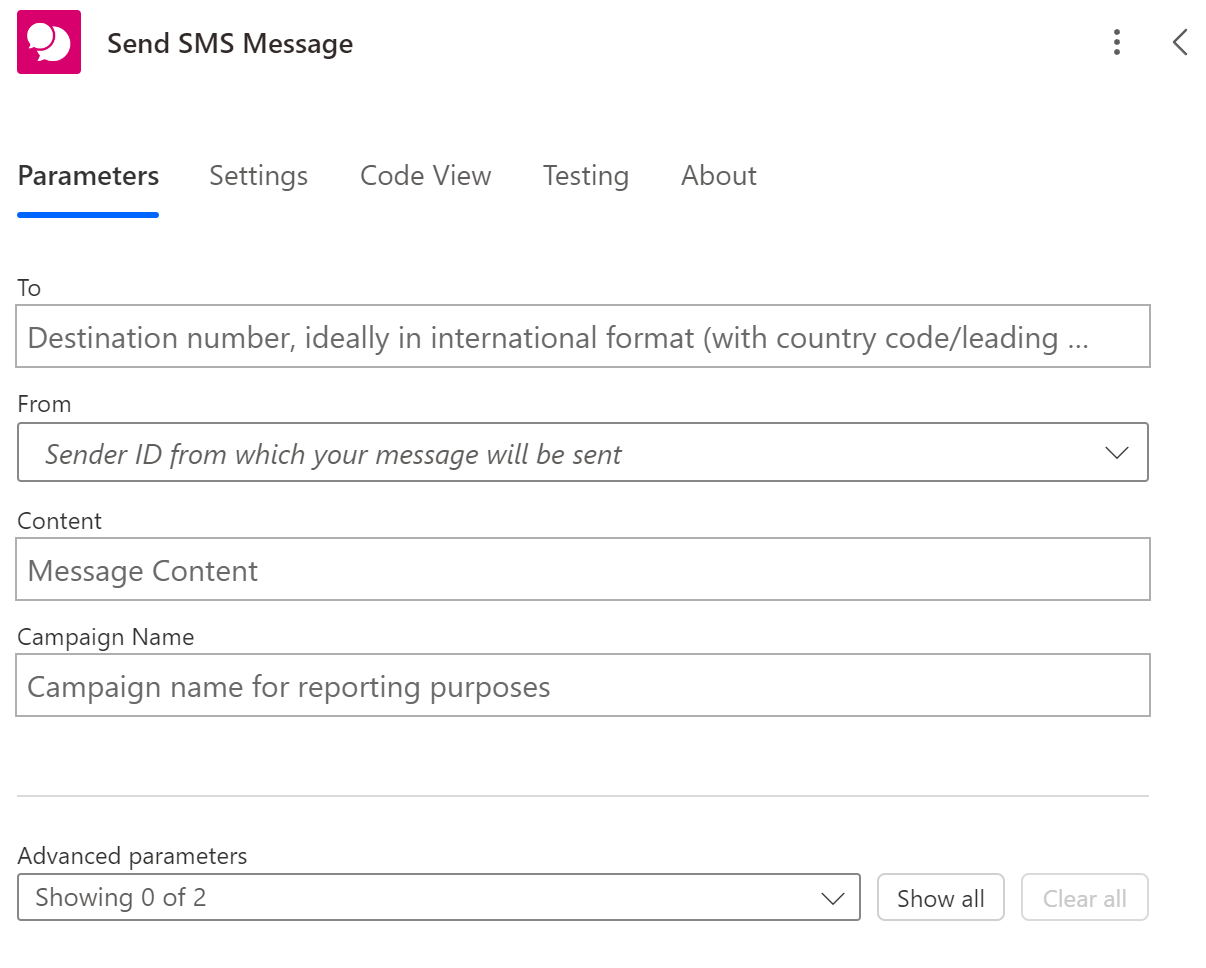
Populate the fields according to your sending requirements.
To: Enter the number you wish to send the SMS to here.
From: Choose from the list of your approved Sender ID’s or Virtual Numbers. These options appear as per your Edgility account. To register a new Sender ID or purchase a new Virtual Number, login to your Edgility account to manage these options.
Content: Compose your message here.
Campaign Name: This is simply an optional tag that appears in your Edgility reports to allow you to quickly identify messages.
You can populate these fields based on data captured by triggers in your workflow. To do so, simply click on the lightning bolt at the end of each field.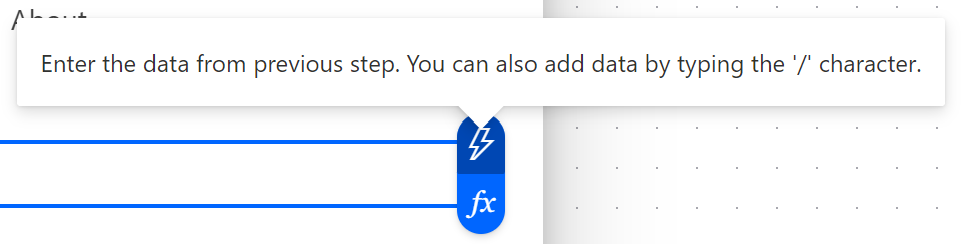
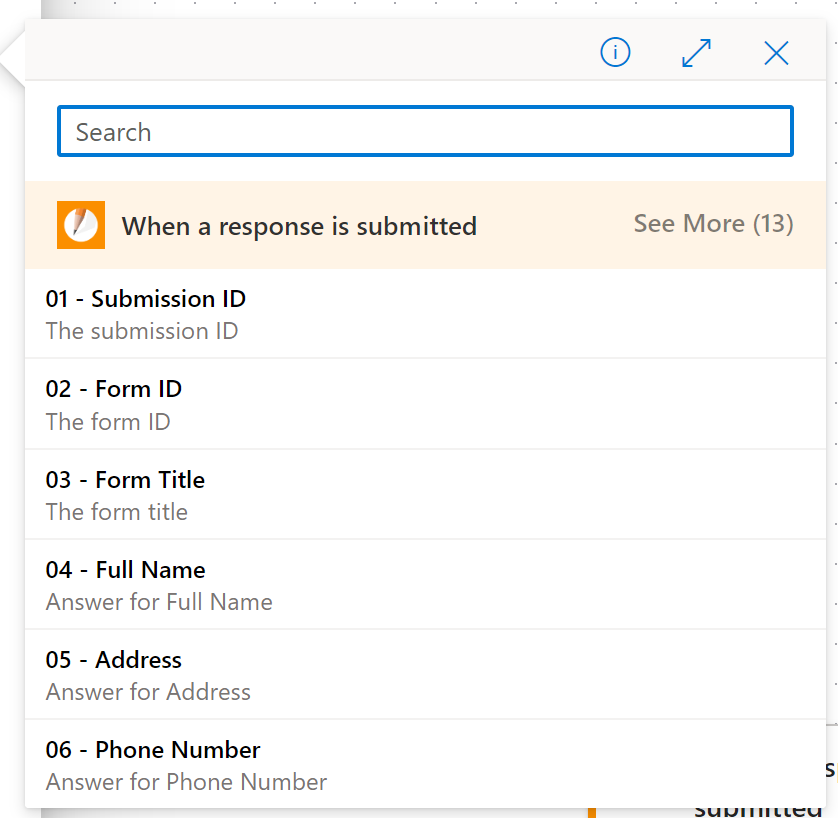
Data from previous steps will then appear listed for selection.
Click on Advanced parameters for additional sending options.
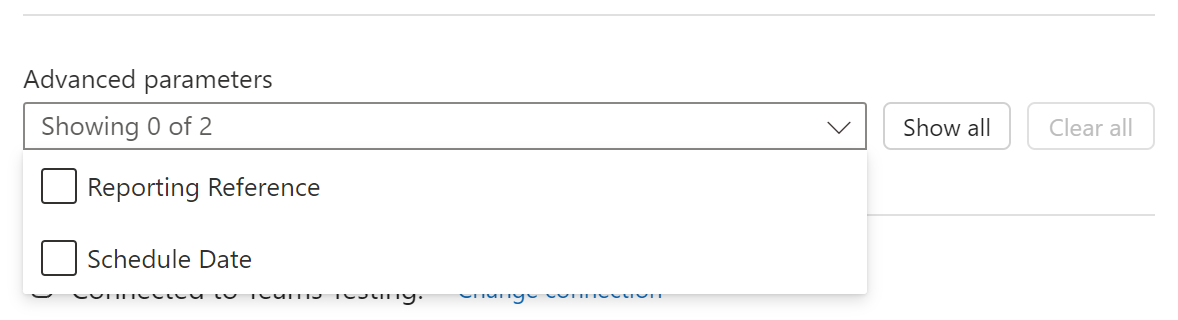
Include an additional Reporting Reference or select Schedule Date to have the message sent on a specific date/time.
Configuration is saved automatically as you progress, so once you’re happy with your message you can simply click away to continue building your workflow.