Edgility Azure SSO Configuration
Configure Azure SSO to automatically create users on your Edgility account, and configure integrations from a centralised point.
NOTE: Edgility also supports SCIM. Contact support@edgility.com.au to request SCIM provisioning.
Initial SSO Provisioning
To provision SSO, you must first provide us with your Entra ID/Azure Active Directory Tenant ID. This is usually located on the homepage of your Microsoft Entra ID admin panel.
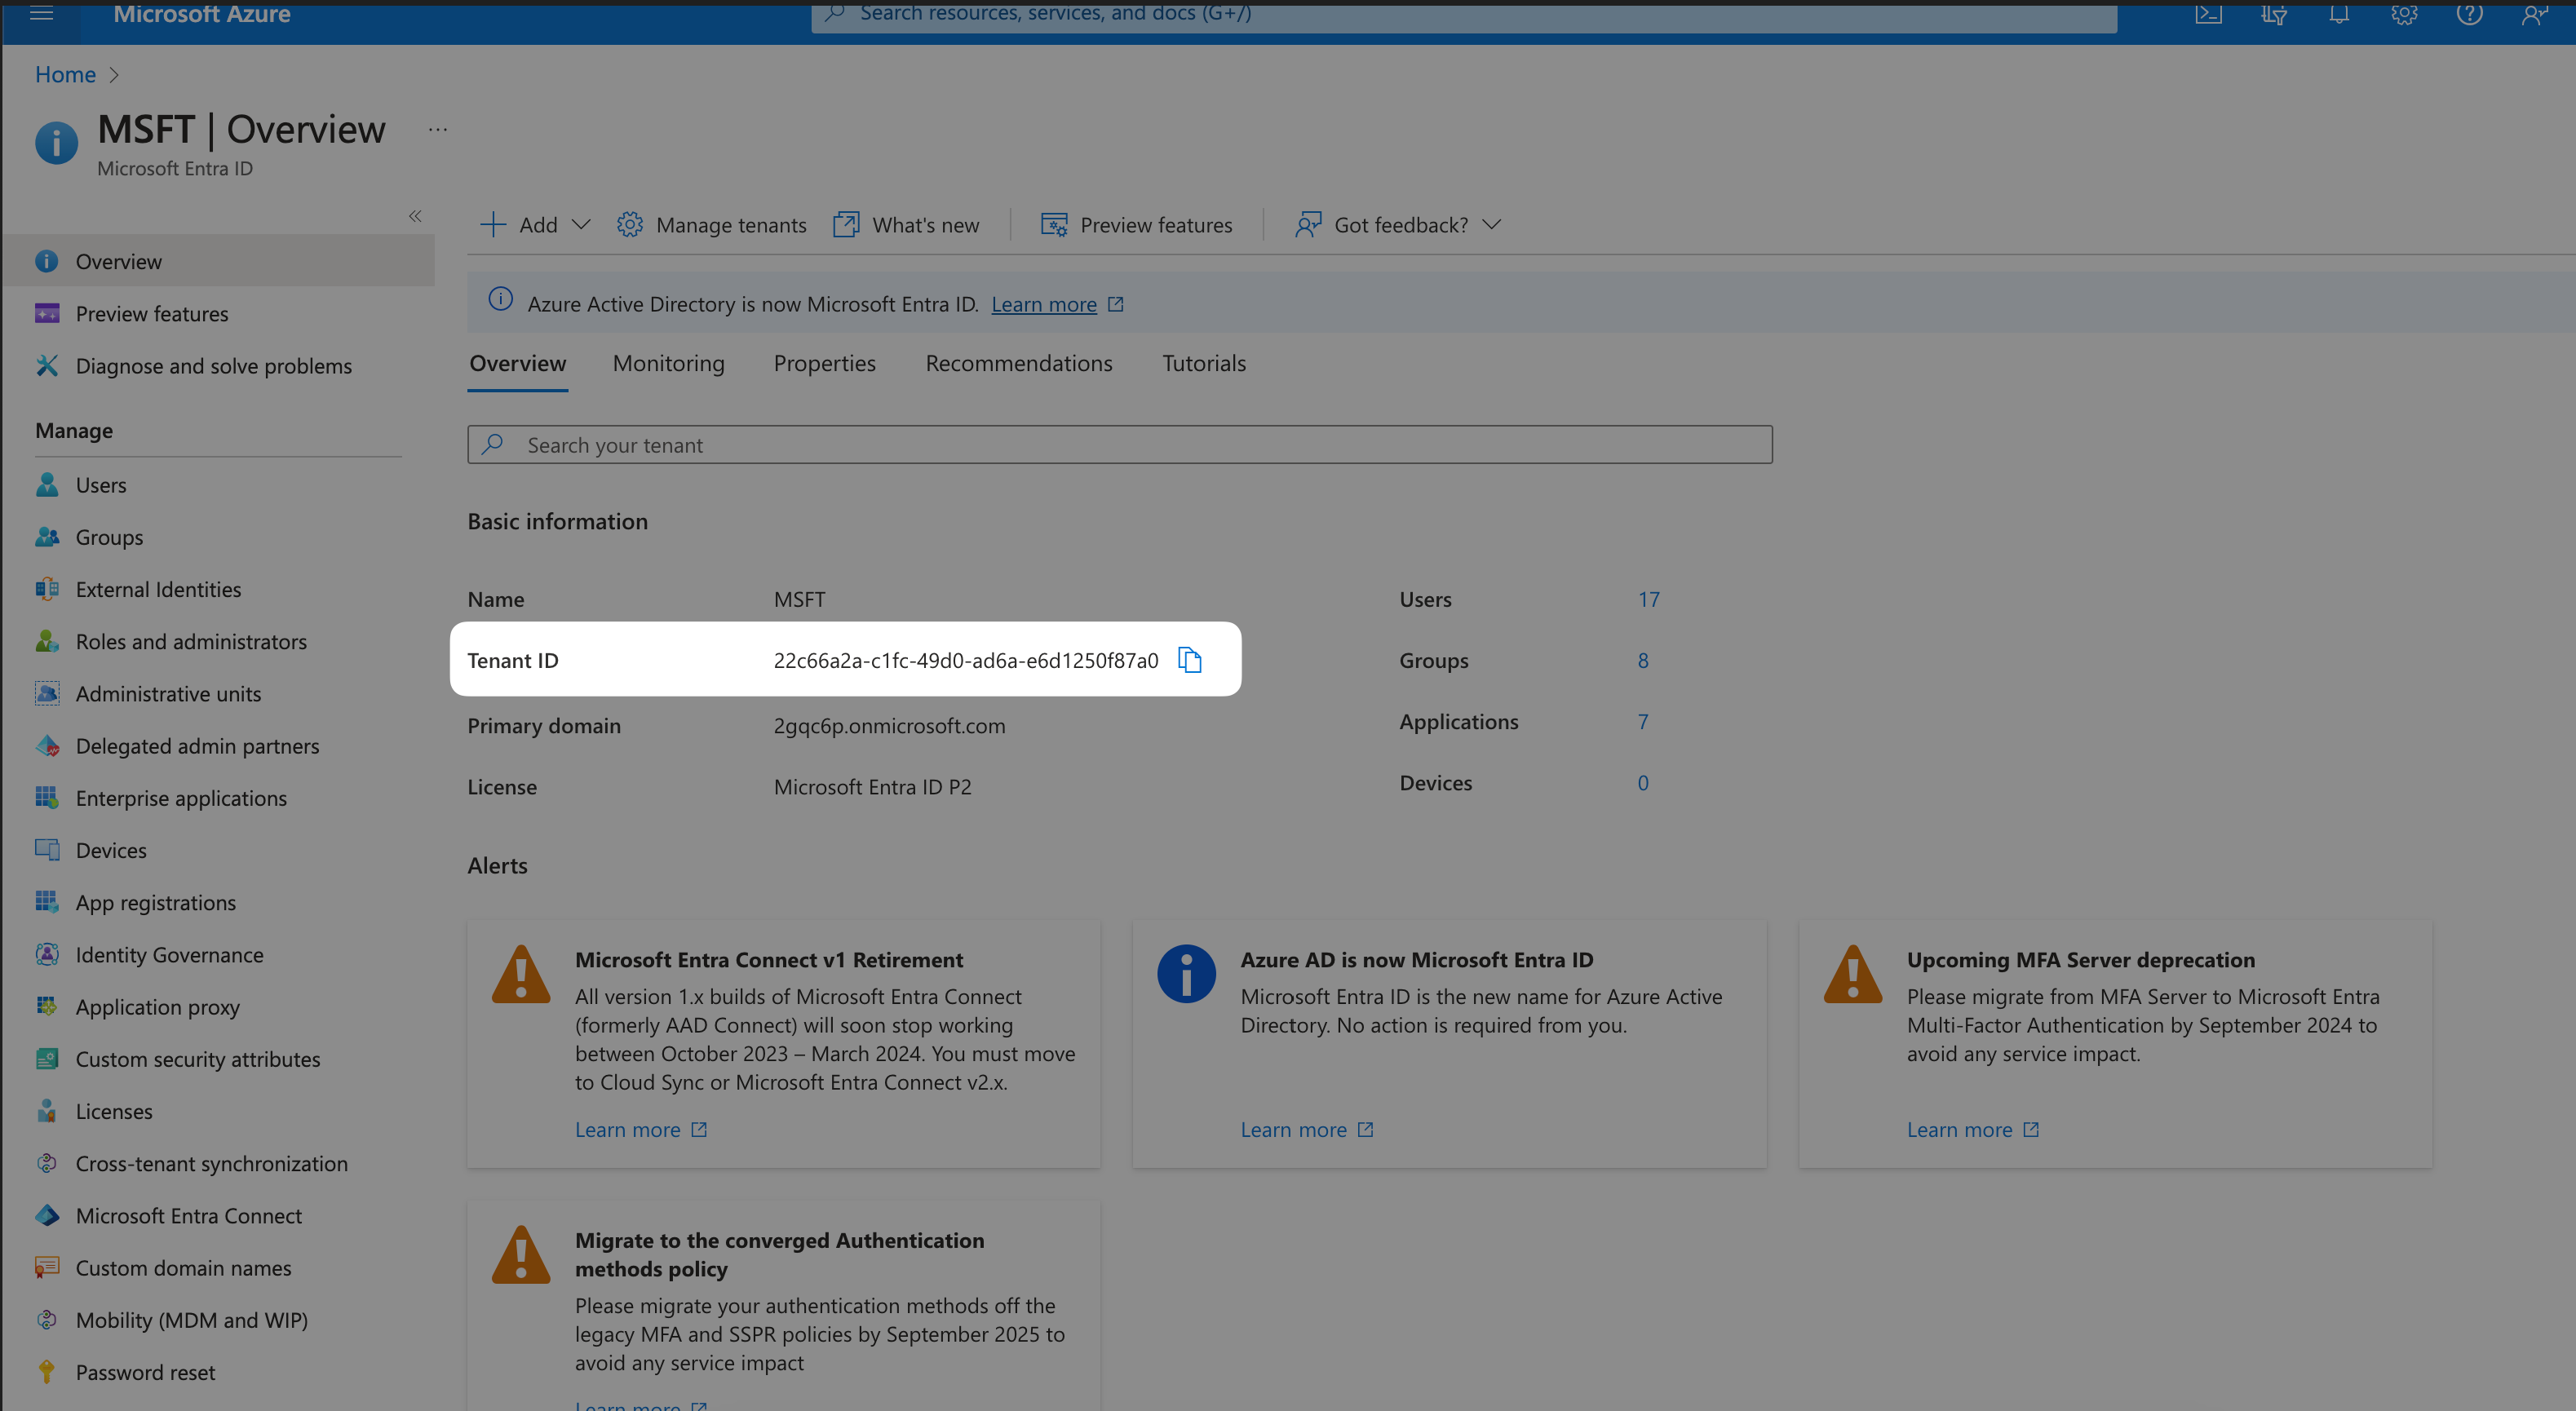
Click below to complete the Tenant ID submission form.
Complete Tenant ID Submission Form
A member of the support team will be in touch once initial SSO provisioning has been attached to your Tenant ID. SSO Provisioning will need to be done before you can proceed to configuration.
Configuration
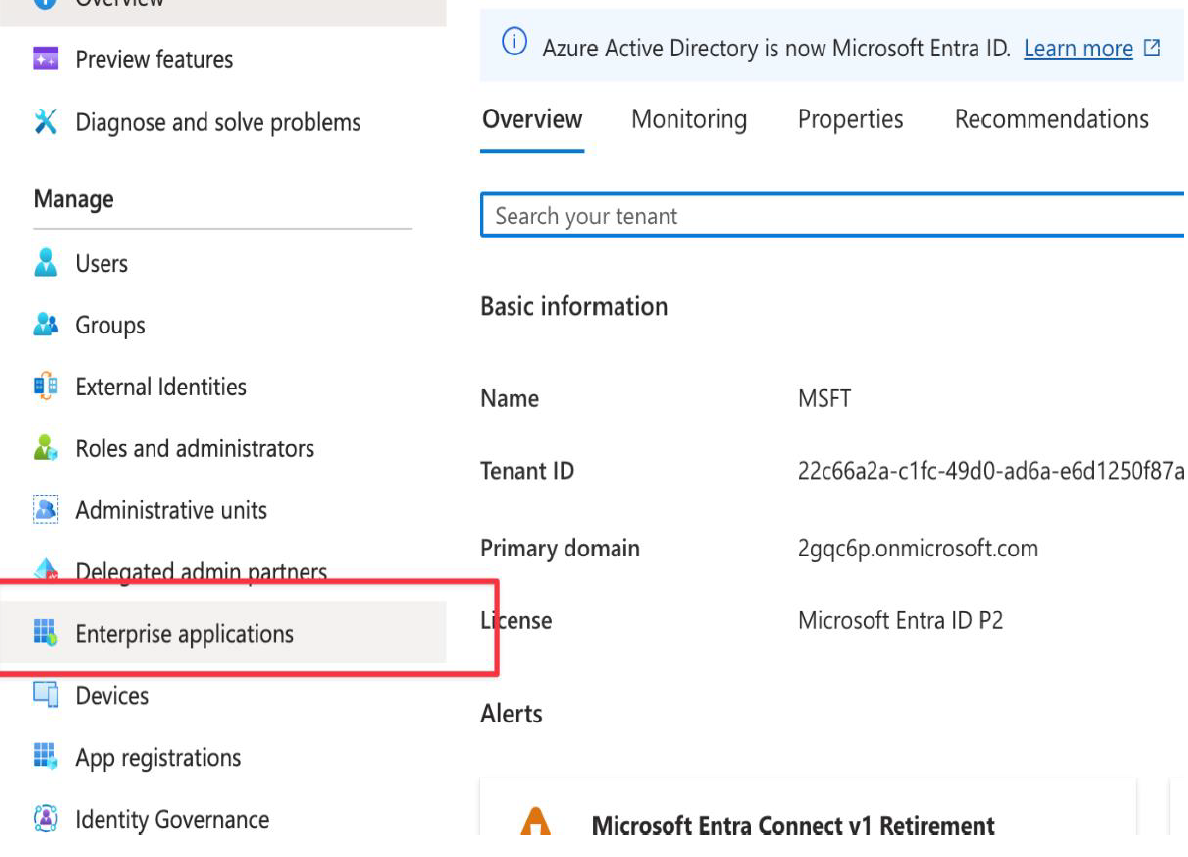
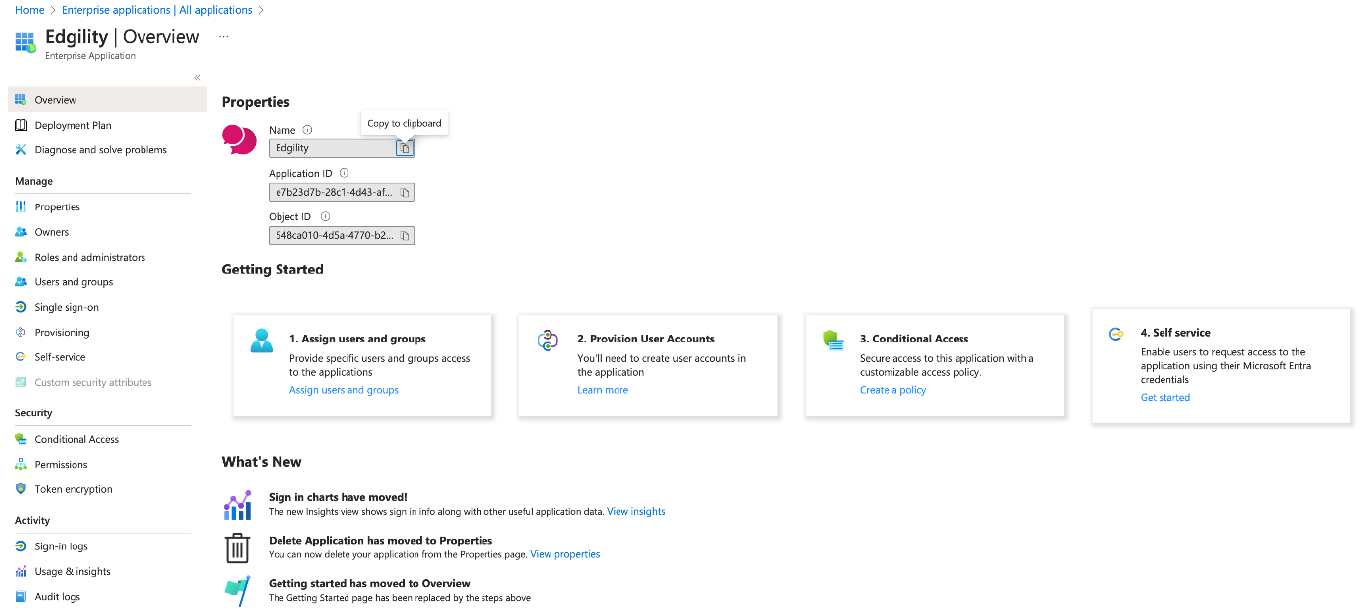
Now that SSO has been provisioned by Edgility, log into your Microsoft Entra ID admin panel and select Enterprise Applications from the menu.
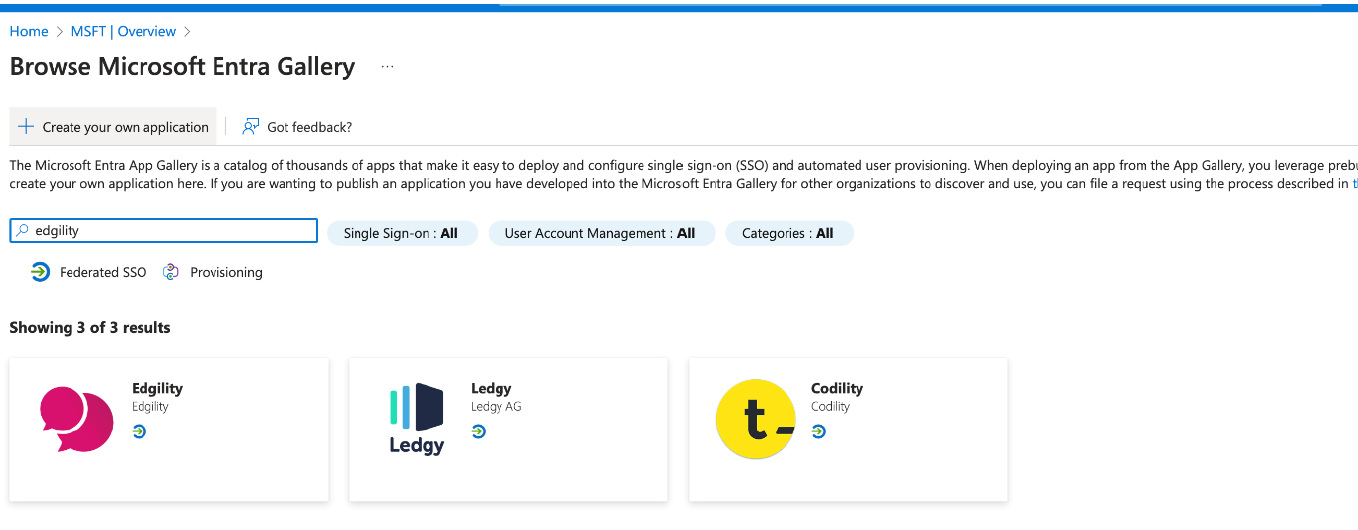
Select New Application > Search for and select Edgility > Click Sign up for Edgility
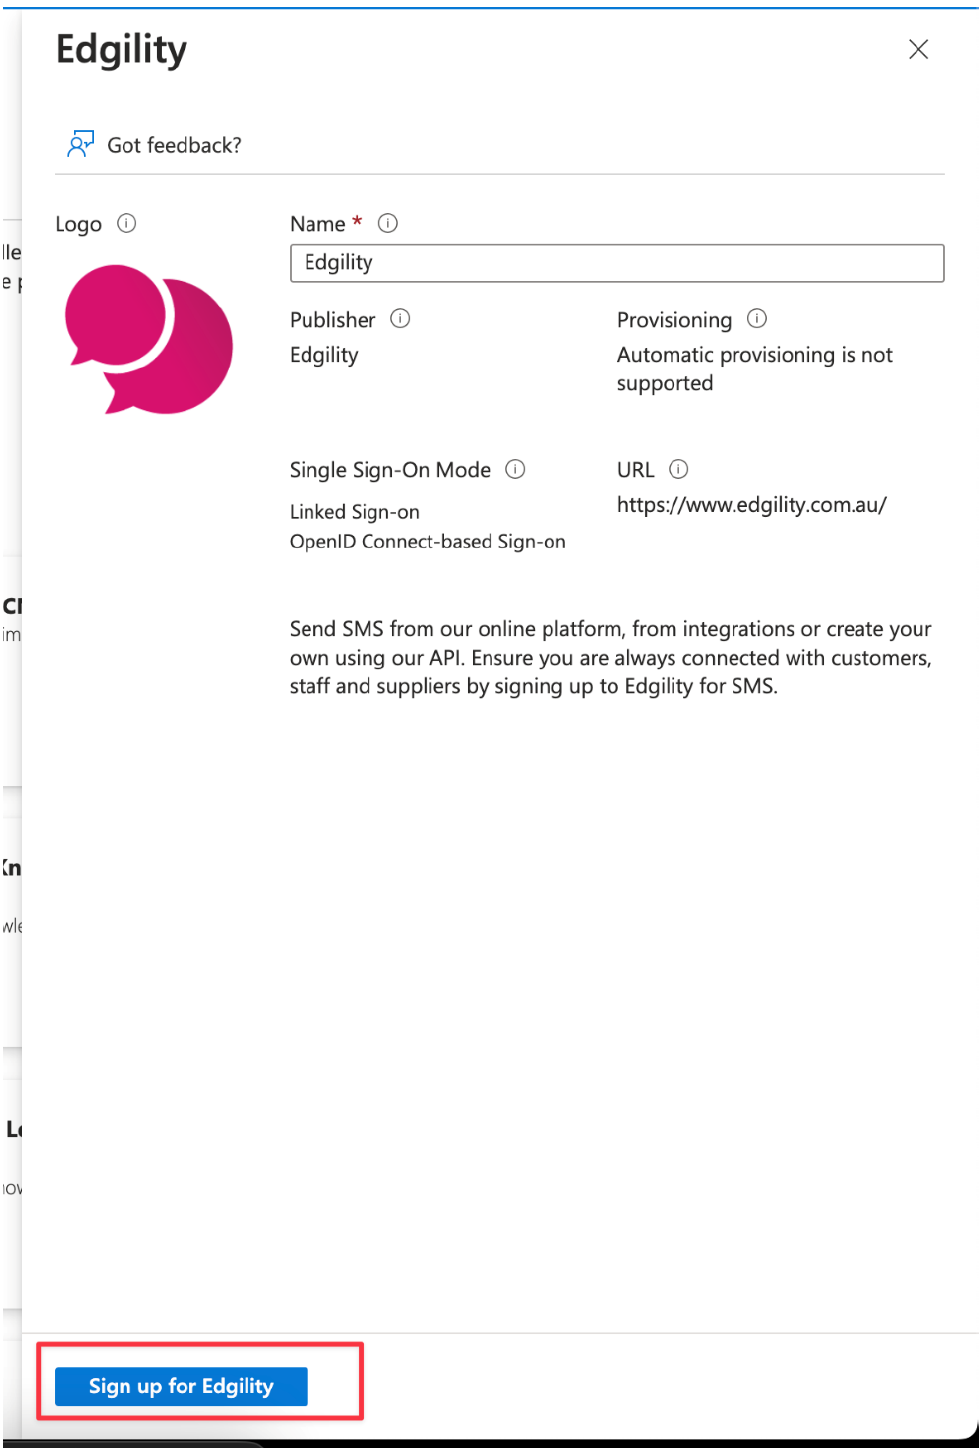
When the Azure oAuth prompt appears, ensure you tick the “Consent on behalf of organization” checkbox and click Accept.

You will then be logged into your Edgility account or a new account will be created.
Reopen the Microsoft Entra ID admin panel, and set up Assignment/Self Service – this will allow you to provide users access to SMS in Teams or request access using their Entra credentials.
Assigning Users and Groups
Reopen the Microsoft Entra ID admin panel and navigate to your Edgility Enterprise Application.
Individual User Assignment:
- Select Users and groups from the left menu
- Click Add user/group
- Under Users, click None Selected
- Search for and select the users you want to grant access to
- Click Select, then Assign
Group Assignment:
- Select Users and groups from the left menu
- Click Add user/group
- Under Groups, click None Selected
- Search for and select the security groups you want to grant access to
- Click Select, then Assign
All members of the assigned groups will automatically have access to Edgility through SSO.
Configuring Self-Service Access:
- Select Properties from the left menu
- Set Enabled for users to sign-in to Yes
- Set Assignment required to Yes (recommended for security)
- Select Self-service from the left menu
- Set Allow users to request access to this application to Yes
- Under Who should be added as approvers, select the users or groups who should approve access requests
- Click Save
Users can now request access to Edgility directly from the Azure MyApps portal, and designated approvers will receive notifications to approve or deny these requests.